Let’s Talk About Data Liberation Learn more

40+ Certified Experts
Hassle-Free Project Delivered

Security & Integrity
Wordpress Core Contributors
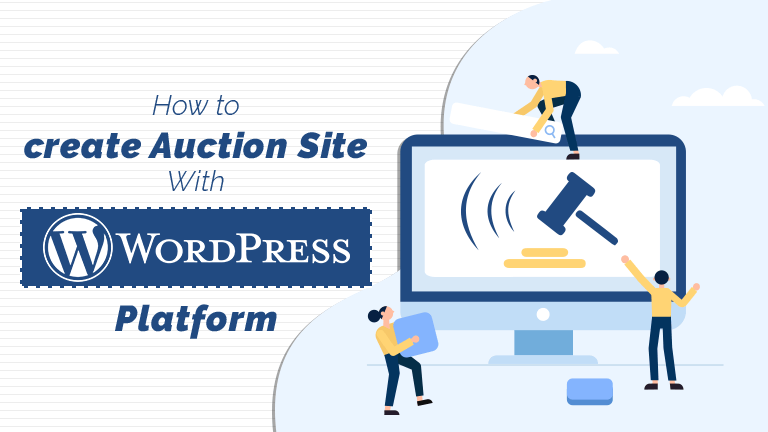
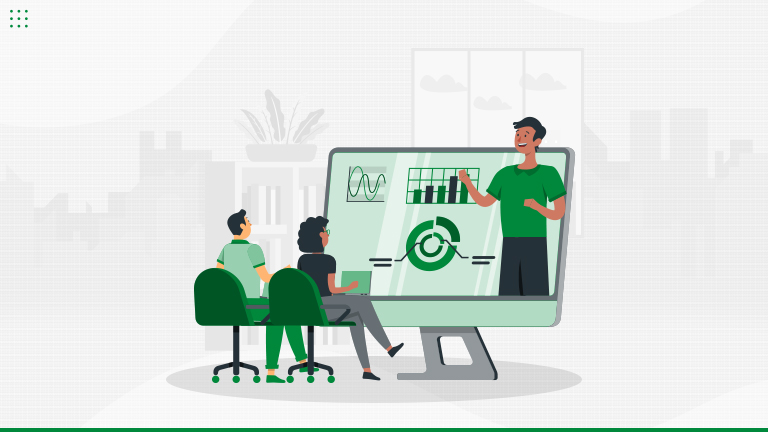
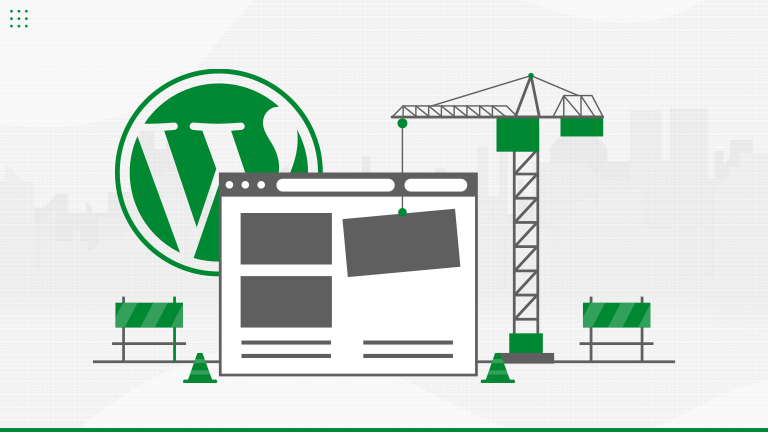
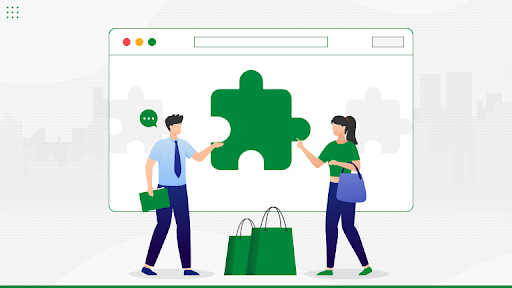
To begin with, getting a domain name which will be your web address and a hosting account to store the pages of your website. Next, install WordPress on the hosting account. Now you have the ability to log in, set up WordPress and do customization.
Note that auction websites require additional memory for PHP compared to a standard WordPress installation. The reason is that auction sites have greater complexity and employ more memory compared to a basic blog.
Some advice for you if you want to keep the auction site small. For instance, a site having only a few auctions and visitors amounting to just a few thousand months. A shared Linux hosting account is a suitable fit. Note that the account should have over 64MB of memory. 256MB is desirable.
If you want the capability for many auctions and number of visitors running into several thousand a month go for a managed hosting account from a branded organization.
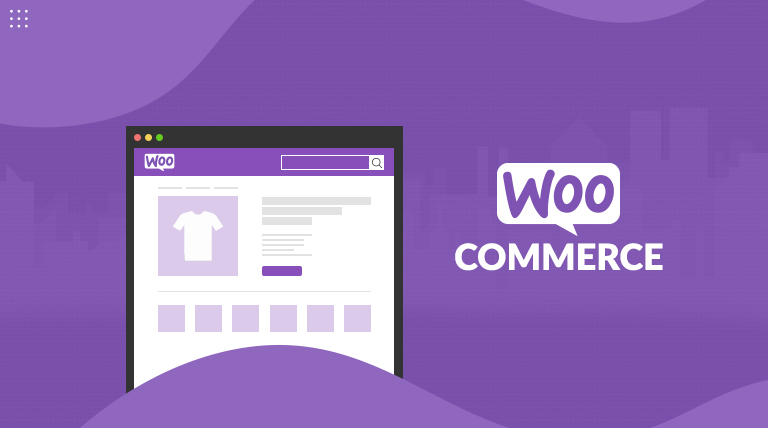
Buy a plugin
After WordPress is installed get a plugin to extend the functionality of the former to enable you to run auctions. The number of existing auction plugins is many. However, the simplest to use and reliable one is WP Auctions. You have to pay for it as it is not free. The cost ranges from $35 to $89 based on the plan selected. Note that this is a one-time charge.
Navigate to WP Auctions and buy the plugin. Then download the latter to a folder on the computer. Login to the WordPress software installed by you. Navigate to Dashboard. Scroll to Plugins ->Add New. Next, upload the plugin folder from the computer and do the installation. After installation activates the plugin.
The WP Auctions tab placed in the dashboard’s sidebar contain all the actions for WP Auctions. There are actions for customization of the design and notification here. At the onset, it is required to tweak certain settings by navigating to the Auction Settings section.
In General Settings
- Rename the Auction Title.
- Set other settings to default.
- Select the auction “engine”. Select proxy bidding which is the default choice. In this, bidders put in the maximum bid. The bid is automatically increased till the maximum bid is subject to elimination. Other choices are traditional bidding, reverse auction and more. Click on Update Options.
In the Payment Settings
- Key in PayPal account details
- Click on update options
- Key in a URL for a payments page.
- Then introduce a new page with the sidebar’s Pages link. Within the main editor key in the shortcode[wpapayment] and term the page ‘Payments’. Then publish it and verify it has the identical URL as the payments page keyed in before in Auction Settings.
In Other Settings
Check the setting for Default Auction Page. The same process has to be done as the payments page before. Navigate to Pages->Add New Page. Then publish a page having [wpadisplay] in the editor. Check the URL. A tip – name it ‘Auctions’.
Navigate to Other Settings and key in that URL adjacent to Default Auction Page. This page now displays all the ongoing auctions. Review as well as update options.
Creating the First Auction
Go to New Auctions. Complete Shipping options. Next complete Other options including options for Reserve price as well as Buy It Now.
Below the main editor of the new post, there will be a meta box for placing an Auction. Select whichever auction you want to place. Then click Insert Auction.